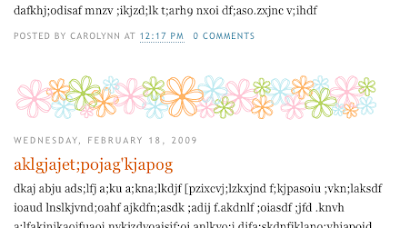
Step 1: Go to your Layout tab of your blog and click on Edit HTML.

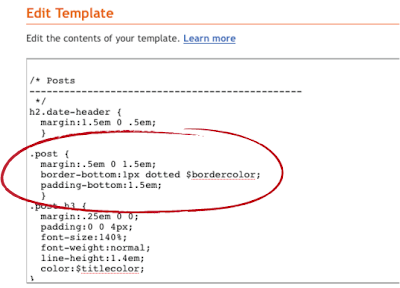
Step 2: Scroll down until you get to the Posts section.

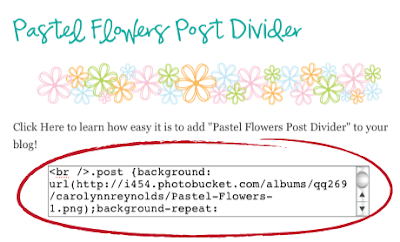
Step 3: Replace the above, circled text with the text located below the post divider of your choice. (Find post dividers HERE)

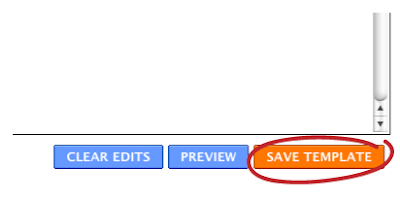
Step 4: Click on Save Template, and you are done!!


9 comments:
thanks for this tutorial!
I was wondering how you change the font of the title of your posts?
I've tried changing the font on my blog to a cute font that is on my computer, but it doesn't show up the same on other computers that don't have that particular font on their computer.
Thank you SO much! I have been working on this for days to get a transparent background! Thank you! Thank You! Thank You! Shar
thanks a bunch!! how can i mentioned u in my blog, as a way of saying thank you?other than in my post?
Here is a link to my blog ~ sorry I forgot to add it ~ I'm still new at this!
http://www.heybiatchesitsshar.blogspot.com/
Check out your dividers & thanks again!!!
Shar
hello i cannot do the way ur tutorial. mine is different . inside the edit html there are not the same as ur. can u help me?
http://ibroke-dnoodle.blogspot.com
pliss drop comment here. thanx
hye carolyn....
mine also cannot do the way in ur tutorial... can u help me for this new template blog?
hello i cannot do the way ur tutorial. mine is different . inside the edit html there are not the same as ur. can u help me?So buy twitter followers
Thanks for the blog. Your blog is so attractive . Everybody stopped for reading your article. You did a good job in writing the article. I like it so much.
pdf digital signature
I will keep your new article. I really enjoyed reading this post, thanks for sharing.
www.gofastek.com
Post a Comment