9.28.2009
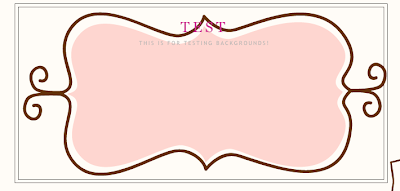
Thanks for those of you who voted! There was a tie between the Cherry Blossom Branch Background and the Black Pattern Background, so I went with the Cherry Blossom this week, and next week I will do the Black Pattern! I hope you enjoy!
Click on the links below to get all the pieces that you need to make over your Blog!
Background
Header
Sidebar Titles
Post Divider
**And don't forget! There are tutorials for using all of these Elements.
9.21.2009
All New! MAKEOVER MONDAYS!
I am so excited start something new, I call it Makeover Monday! What I want to do is every Monday (or as many as I can), offer a whole set of freebies to go with the background of your choice! So let your voices be heard, vote for next weeks Makeover by participating in my poll on the right!
This week I chose to start by making a brand new background. I chose to go with a Sewing/Crafting Theme, So many of you have such cute Sewing and Crafting blogs, so I thought it would be perfect.
Click on the links below to get all the pieces that you need to make over your Sewing/Crafting Blog!
Background - 2 Column
Background - 3 Column
Header
Sidebar Titles
Quote
Post Divider
**And don't forget! There are tutorials for using all of these Elements.
Tutorial on How to Add a Super Cute Header to Your Blog!
I decided that I needed to figure out a way for EVERYONE to have a Super Cute Header, even if you don't know how to make one yourself. So I am now going to start designing cute Headers and they will be available FREE on my Blog Accessories Page. It is soooo simple!
Step #1: Go to the Blog Accessories Page and pick out a header and copy the text in the box below it, or if you have one of your own that is great too!
Step #2: Go to Layout, and Page Elements, and Click on Edit (next to Header).
Step #3: Paste the text that you copied from step #1 in the "From the web" spot, and make sure that you have selected "Behind Title and Description". Then Click Save.
Step #4: Then you will notice that Your Title is not centered in the image, it is on the top. To fix this, we are going to go to the "Edit HTML" Page. (When you are finished with this tutorial Click Here to learn how to get rid of the border around your header)
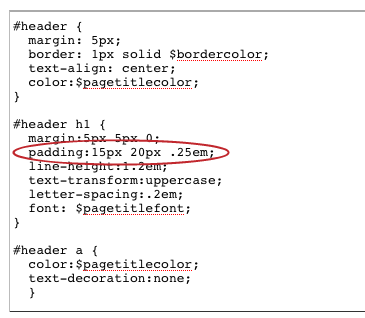
Scroll Down until you see #header h1 { and change the 15px to 130px. Then Click Save Template. (Note, you do not have to change it to 130 exactly, that is just the best number for centering your text on my Headers, if you have a header that is sized differently, you will have to play with different numbers until you find one that centers it well.)
And that's It! You have a beautiful header! Just another way to Makeover your Blog!
9.01.2009
September Promo: Custom Signature!
Custom Signatures are a fun, cute way to dress up your blog and give it some personality, so I am offering Custom Signatures for only $5! That is half off! So affordable, so cute you will love it! I even have posted an easy tutorial on how to install Custom Signatures. To purchase your signature, click on the buy now button below, and email me (carolynn@dforte.com) what you want your signature to say and anything else you want me to know when I create it for you.
Tutorial on How to Add a Custom Signature to Your Blog!
A Signature is a fun way to customize your blog and it is easier than you think!
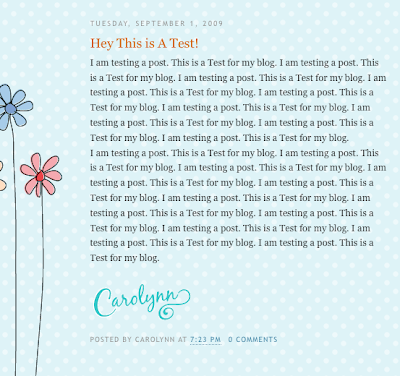
Step #1:
You need to create your custom signature in the program of your choice, I use Adobe Illustrator or Adobe Photoshop. Make sure that when you save your signature, you save it as a png file with a transparent background. If this is a step that you can't do yourself, or don't want to do yourself, email me (carolynn@dforte.com), and I can design you a custom signature for your blog for only $10!
Step #2:
Create a Photobucket Account (www.photobucket.com)
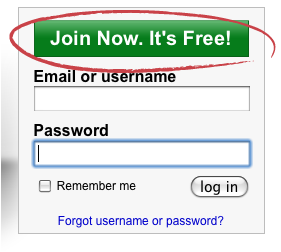
Step #3:
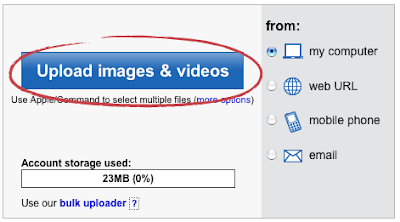
Upload your Custom Signature.
Step #4:
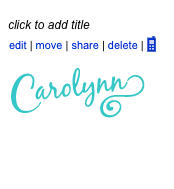
Click on your signature.
Step #5:
A similar screen below should show up. Copy the HTML Code for your signature.
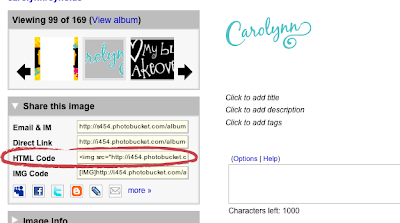
Step #6:
Return to your Blog and go to your Settings and Formatting Section.
Step #7:
Scroll to the bottom and you will see a Post Template section, in the box, paste the code that you got from photobucket. Then Save.
Step #8:
Go to Layout and Edit HTML.
Step #9:
Scroll down to where you see the below text, and change the border to 0px. Then Save your template.
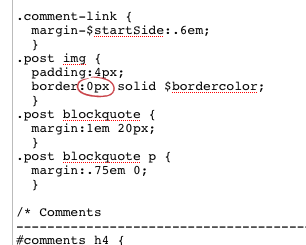
And you are done!
Step #1:
You need to create your custom signature in the program of your choice, I use Adobe Illustrator or Adobe Photoshop. Make sure that when you save your signature, you save it as a png file with a transparent background. If this is a step that you can't do yourself, or don't want to do yourself, email me (carolynn@dforte.com), and I can design you a custom signature for your blog for only $10!
Step #2:
Create a Photobucket Account (www.photobucket.com)
Step #3:
Upload your Custom Signature.
Step #4:
Click on your signature.
Step #5:
A similar screen below should show up. Copy the HTML Code for your signature.
Step #6:
Return to your Blog and go to your Settings and Formatting Section.
Step #7:
Scroll to the bottom and you will see a Post Template section, in the box, paste the code that you got from photobucket. Then Save.
Step #8:
Go to Layout and Edit HTML.
Step #9:
Scroll down to where you see the below text, and change the border to 0px. Then Save your template.
And you are done!
Tutorial on How to Add a Cute Blog Background to your Blog!
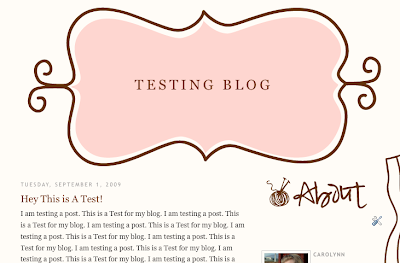
My Backgrounds work with most Blogger templates, but they ALL work well with the Minima Template.
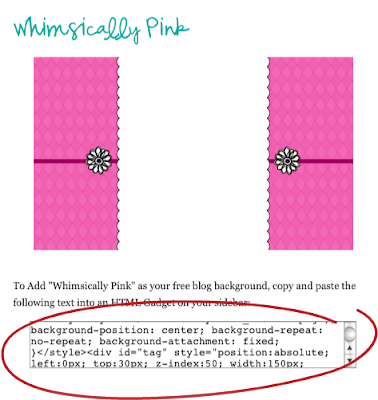
Step #1: Find your cute background Here! Select ALL of the text in the box below the background you want.
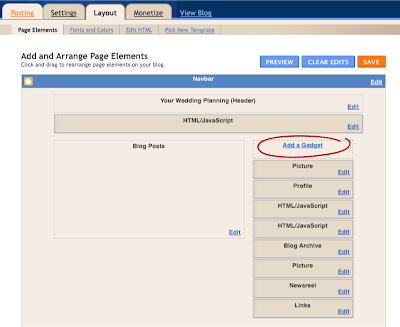
Step #2: Go to you Layout tab and Page Elements screen (below) and click on Add a Gadget (circled).
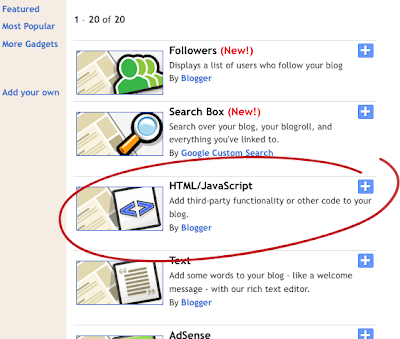
Step #3: Find HTML/Javascript and Click on it.
Step #4: Paste the code that you copied from Step #1 in the content box, like you see below (you do not need a title). Then Click Save.
And Voila!! You have a Way Cute Background!
Subscribe to:
Posts (Atom)